Building Your Own Hardware
WARNING
This project will not work on all spa pools. Refer to the compatibility page to understand if your spa pool is compatible with this project.
DANGER
It is really important to note that shorting pins 7 and 8 on the EXP1 port will cause the spa controller to short, and cause irreparable damage to the controller. This is why it is important to build your own hardware with care, and to test it thoroughly before connecting it to your spa pool. We've already heard of at least two people who have had to replace their spa controllers due to this mistake. If you want to reduce the risk of damage, consider purchasing a pre-built PCB instead.
Spa Pool Connection Overview
On spa pools containing SpaNet SV and SV Mini controllers, there exists a port labeled EXP1 or EXPAND1 port. This is a standard RJ-45 plug, with the following output coming from the controller on each of the pins:
| Pin | Controller | WiFly Adapter |
|---|---|---|
| 1 | Health Led | Pass through |
| 2 | GND | Pass through |
| 3 | Not used | |
| 4 | Not used | |
| 5 | TX | RX |
| 6 | RX | TX |
| 7 | GND | GND |
| 8 | 12V | 12V |
Because the spa is outputting 12V over this connection, we can build our controller with no need for an external power connection - all we need to do is convert the 12V down to a 3.3V voltage suitable for our ESP32 chip. We then use pins 5/6 to communicate with the controller, using our custom firmware.
Components
The table below lists a few options for purchasing the required components. AliExpress is typically cheaper but has a much slower delivery, compared with the more expensive Core Electronics (based in Australia), with their faster delivery times.
| Component | Store links | Comments |
|---|---|---|
| ESP32 | AliExpress / Core | Get 1 already-wielded ESP32. |
| RJ45 connector | AliExpress / Core | Get a 'H Type+DIP Pins'. |
| Buck converter | AliExpress / Core | Get a '5-40V to 3.3V' converter. |
| 330 ohm Resistor | AliExpress / Core | You need two 330 ohm resistors. |
Beyond these key components, you may want to buy some protoboards, breadboards, pin headers, cables, etc to build your device. Some useful links include:
| Component | Store links | Comments |
|---|---|---|
| Pin Headers | AliExpress | |
| Perfboard | AliExpress | If you want to solder your hardware together. |
Assembly Images
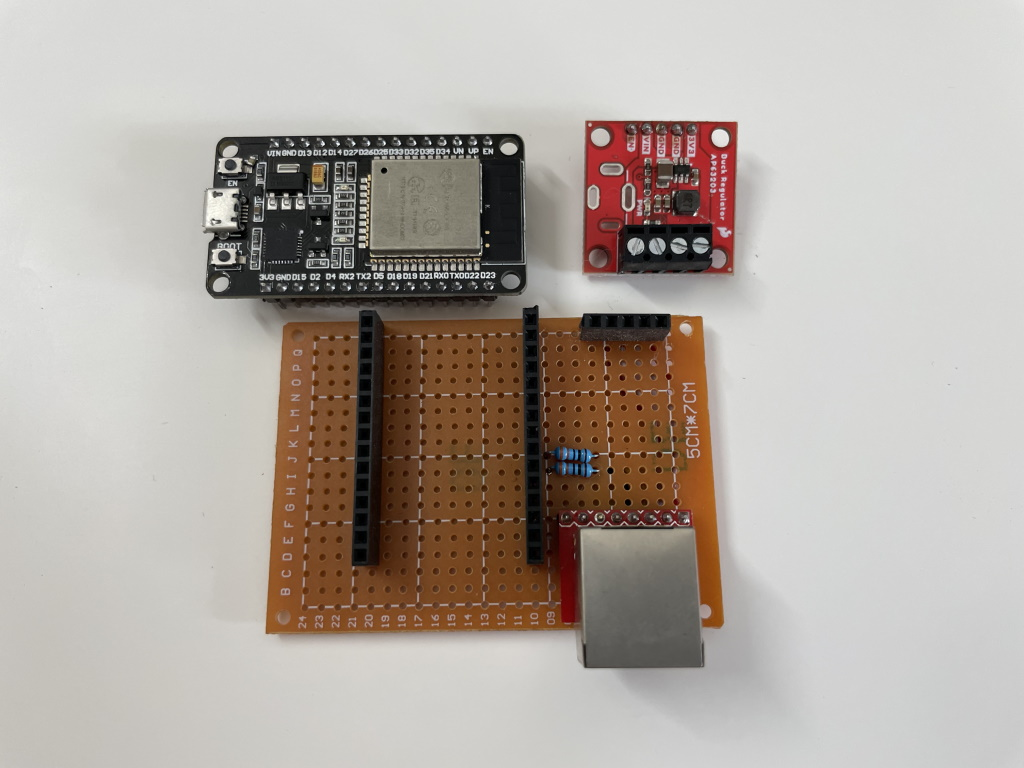
To keep things as simple as possible, off the shelf modules have been used. You can click the images below to see a larger version of the image.
TIP
The resistors on the RX/TX pins are recommended but optional.


